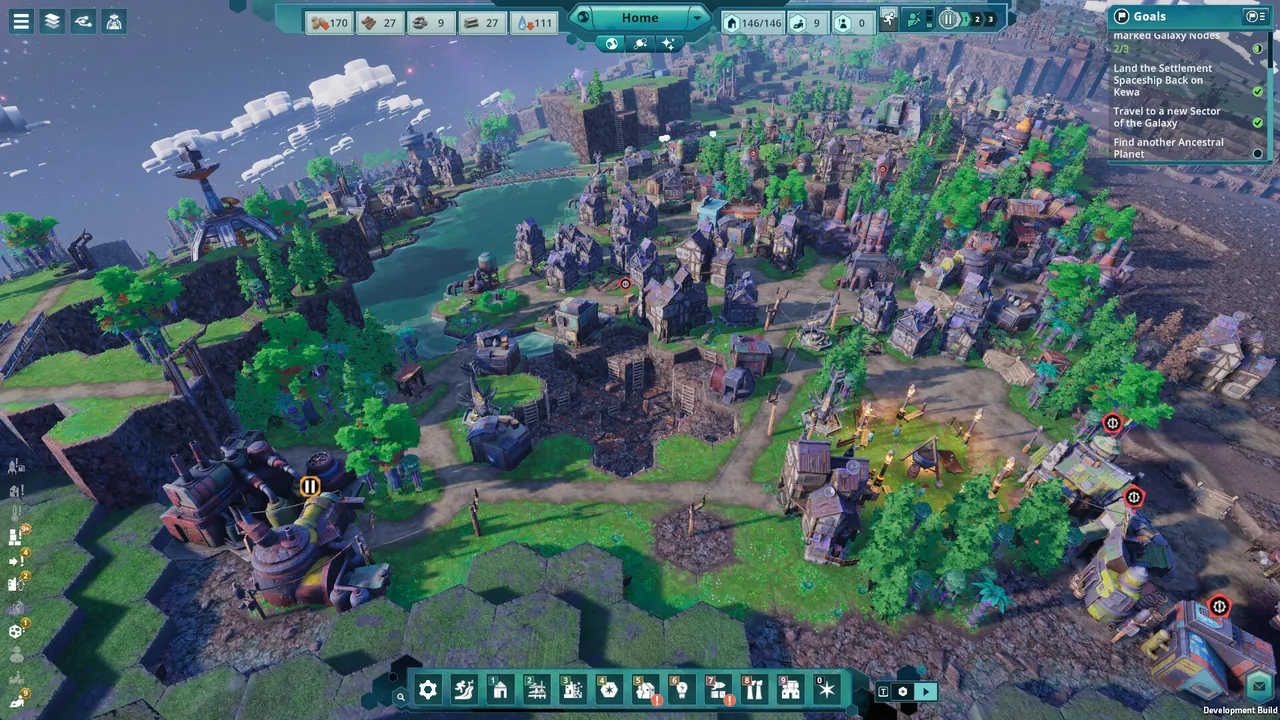
Low energy raises a Peep's risk of sickness at the start of a shift in Beyond These Stars. A sick Peep stays home from work, and a case that lasts too long can be fatal. The developer's Dev Blog #25 confirms sickness, death and mourning for the full 1.0 release; it also explains how the Apothecary and Memorial Statue help with different parts of that cycle.
What should I check when workers get sick?
Inspect energy first, then the conditions that let Peeps recover. The announcement points to food, decorative buildings, relaxation and the demands you place on workers. It describes a chance of illness that rises as energy falls, without publishing a percentage or an energy cutoff.
Avoid treating every idle building as a materials problem. A sick employee is absent during working shifts. If sickness appears alongside a production drop, check the workforce before adding another building that also needs staffing. Use the beginner guide to review the housing and supply foundations.
Happiness is another useful signal, but it answers a different question. Unhappiness can lead to a strike; low energy increases sickness risk. The happiness and strikes guide explains the task-based response when the city is striking, so you can distinguish an absent sick worker from a protesting one.
| Symptom | Announced explanation | What to inspect next |
|---|---|---|
| Illness at the beginning of a shift | Low energy increases sickness probability | The Peep's energy and recovery routine |
| A sick Peep does not attend work | Sick Peeps remain at home during work shifts | Recovery support and the resulting staffing gap |
| Illness is not resolving | Prolonged sickness can become fatal | Apothecary production and home-held recovery items |
| Happiness drops after a death | Death affects the community | Mourning behaviour and Memorial Statue access |
The inspection column is a practical reading of the developer's description. It is not a promise that one building will resolve every case immediately.
How does the Apothecary help recovery?
The Apothecary makes items intended to restore energy and help Peeps get back on their feet. Peeps store these items in their homes for when they are needed. This makes the household part of the treatment loop: having a building in the city and having useful recovery items available are separate things to check.
When cases appear, look at whether the Apothecary is actually producing, then examine the affected households. The announcement does not give a guaranteed cure time, staffing ratio or recipe. Check those details in the release build before sizing a district around them. The tips and tricks guide covers the wider habit of checking workers and supplies before expanding production.
Keep prevention alongside recovery. A city that supplies treatment but continues exhausting its workers has addressed the current symptoms while leaving the announced risk factor in place. Reviewing food and relaxation is therefore useful even after the immediate illness has passed.
What happens after a Peep dies?
The game notifies you of the death. Dev Blog #25 says the deceased Peep's information remains in the location summary for a while, giving you a chance to investigate the cause. Review that record promptly, especially if several workers have recently become sick or exhausted.
A death lowers happiness across the community and can start a period of mourning. Peeps gather outside the deceased resident's home. The new Memorial Statue gives them somewhere to pay respects, and a visit during a break between shifts grants an immediate happiness bonus.
That is a different service from the Apothecary. One supports recovery from illness; the other supports the community after a loss. Building a memorial should not replace the investigation of food, energy or recovery support that preceded the death.
Pro tip: After a death notification, inspect both the retained Peep record and the surviving workforce. The record helps explain the loss; the current energy situation helps you decide what to change next.
What still needs checking at launch?
The announcement does not specify exact sickness probabilities, time until an untreated case becomes fatal, Apothecary recipes or the Memorial Statue bonus value. This guide deliberately leaves those numbers open. Once 1.0 ships, compare the building descriptions and individual Peep panels with the announced behaviour before using numerical rules for staffing or treatment.
For a controlled comparison after launch, the Sandbox guide describes the confirmed setup options. Change one aspect of the colony at a time so you can tell whether a recovery improvement came from food, the environment or a different workload.