Beyond These Stars is a mouse-first city builder, and its key list is short enough to memorise in one sitting. The table below collects the inputs recorded in community documentation of the demo build and in screenshots taken ahead of launch. Treat it as a working reference rather than a printed manual — the developer has not published its own key list at the time of writing.
The Key List
Everything here reflects the current demo and the pre-launch build.
| Input | Action | Notes |
|---|---|---|
| 1 – 9, 0 | Select a build category | Community-documented mapping onto the palette tabs |
| [ and ] | Rotate the building in placement | Matters for multi-tile buildings such as the Home Spaceship |
| Ctrl | Toggle the road requirement | Decides whether the building in hand cares about being connected |
| R | Toggle road mode | Switches the placement cursor into road laying |
| X | Toggle demolish mode | Remove a misplaced building or a road you no longer want |
| Mouse wheel | Zoom the camera | Zoom out to judge a district, in to place small pieces |
| Middle mouse button (hold) | Free camera | Slides the view without moving your build cursor |
| F11 | Screenshot mode | Photographs the colony with the interface hidden |
| Left click | Place or select | Confirms a placement and picks up what is already built |
A few of these do more than their label suggests. The road requirement toggle decides whether a building is judged on its connection at all, which makes it the difference between a tidy grid and a scatter of isolated structures. Rotation earns its place because several buildings occupy more than one tile, and a rotated warehouse fits a gap an unrotated one cannot. Demolish mode is a correction tool rather than a failure state; early colonies are full of buildings that were one tile away from a good position, and clearing them costs less than designing around them forever.
Screenshot mode deserves a habit of its own. F11 hides the panels so the layout is all you see, which is the fastest way to spot a district that is technically working and practically a mess. Before a rebuild, capture the old layout — comparing the two shots is quicker than remembering what changed.
Do not expect to remap any of this. Key rebinding has not been announced, so the list above is what you get. One documented alternative exists: the Steam accessibility list includes a Mouse Only Option, and camera comfort settings sit alongside it, so a player who would rather avoid the number keys can work from the palette with the mouse.
Reading the Interface
Four interface elements carry most of the information you need, and knowing where they are saves more time than any hotkey.
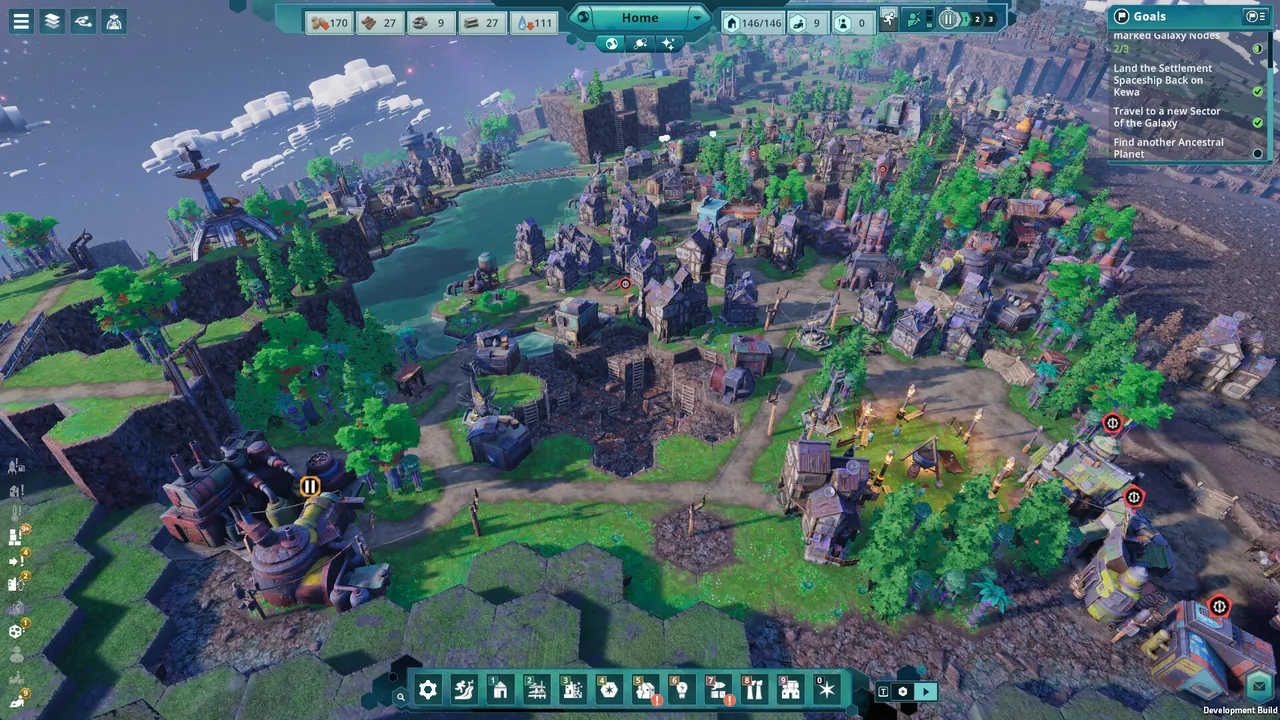
The top resource bar shows your stockpiles together with population, unemployed and sick counts, as seen in pre-release screenshots. It answers one question faster than any panel can: is the colony balanced right now. Population against capacity tells you whether housing is behind, and a rising sick count tells you that energy management is failing somewhere.
The build palette is the other half of the number keys. Categories group buildings by purpose, so once you know that one key holds housing and another holds production, the palette becomes a reference you rarely have to open. The buildings guide covers what lives in each group and what is worth placing first.
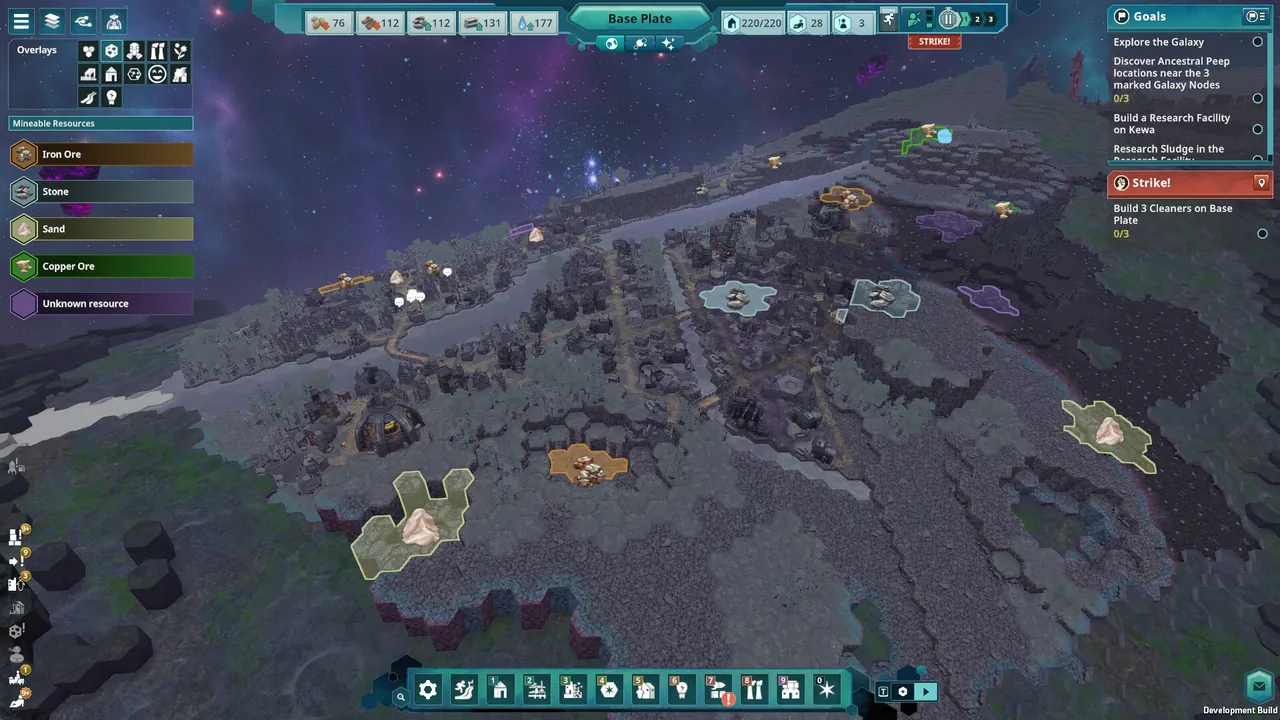
Overlays are the closest thing the game has to a diagnostic screen. The happiness overlay includes a per-peep happiness curve, which is the fastest way to find the individual Peep dragging a district down. A waste and pollution overlay exists too, and a mineable resources overlay lists what is underground — iron ore, stone, sand and copper ore — so you can plan a Mine before you place it. The resources guide goes through what each deposit feeds.
The Goals panel and the location summary finish the set. Goals are grouped into chains rather than handed out one at a time, and a location summary prints the population and inventory for a single plate on Kewa's back. Between the two, you always have a next objective and a local tally of what you are carrying. If you are still on your first colony, the beginner guide covers how to read the early ones.
Getting Comfortable, and What Is Not Documented
Learn the camera before you learn the buildings. Zoom and free camera are the two inputs you use constantly, and a player who is fighting the view will misplace buildings regardless of how well they know the palette. Spend the first minute on an empty stretch of Kewa simply zooming and panning until it stops feeling like a fight.
Then adopt a two-pass habit for every district. Run road mode first and mark the route, then place buildings against it with the road requirement on. That sequence costs one extra pass and prevents the most common early rework, which is a cluster of buildings placed in a shape no road can serve cleanly.
Rotate before you commit. Holding a multi-tile building over a gap, tapping the rotation keys and watching the footprint change is faster than placing it, judging it wrong and switching to demolish mode. If you are testing whether a shape fits, flip the requirement toggle and try without the road constraint, then switch it back once you know.
What is not documented is almost as useful as what is. There is no official published key list, no announced key rebinding, and no announced controller support; the Steam page lists a Mouse Only Option instead. The keys above come from community records of the demo build and pre-launch screenshots, so a shift between demo and the 1.0 release is possible. If something here stops matching what the game does, trust the game.
Pro tip: Press R and then Ctrl before you place a single building. Road mode and the requirement toggle decide how a district connects, and setting both deliberately at the start is the difference between laying a street and tidying up after one.
Sources
- Steam store page (accessibility features, camera comfort, mouse-only option): https://store.steampowered.com/app/2295060/
- Steam announcement, "Developer Diary: Peep Business" (happiness overlay and per-peep happiness curve): https://store.steampowered.com/news/app/2295060/view/1790214123224062
- Official wiki (buildings and technology reference): https://wiki.hoodedhorse.com/Beyond_These_Stars/Beyond_These_Stars_Official_Wiki
- Community wiki, hotkey notes (build categories, rotation, road mode, demolish): https://beyondthesestars.fandom.com/wiki/Hotkey